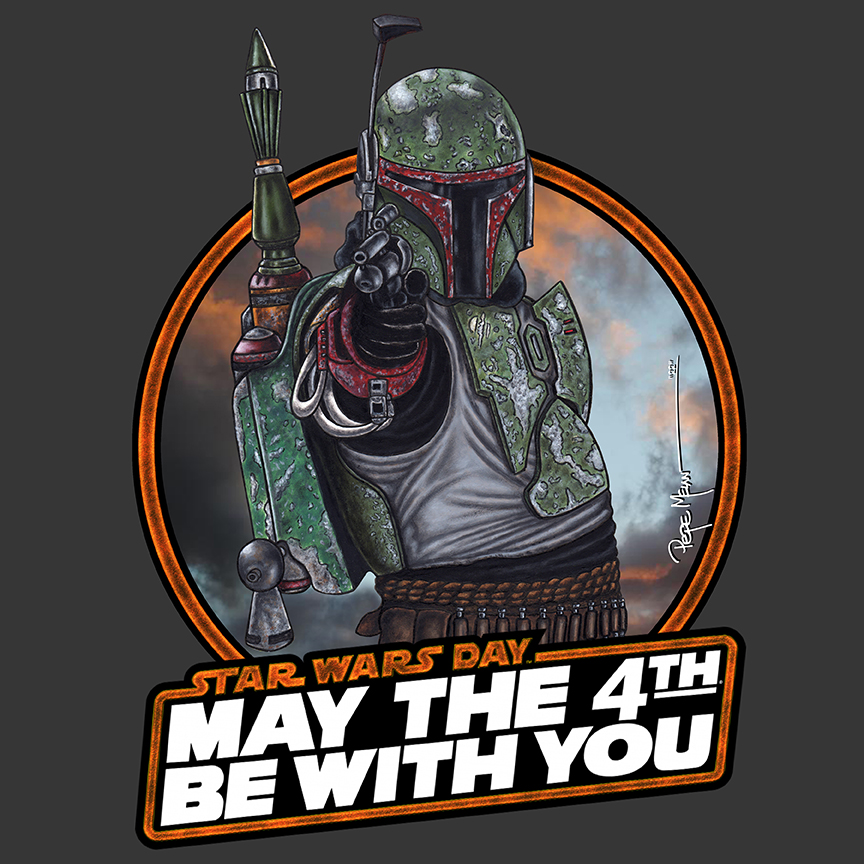
This piece is a hybrid of traditional and digital art. Boba Fett was painted on a Star Wars Sketch Cover with acrylics. I scanned the painted sketch cover and removed the background. Then I rendered a different digital background to create an 18×24 poster with you can see in my artwork gallery. I’m looking forward to seeing more of him in future Mandoverse series.
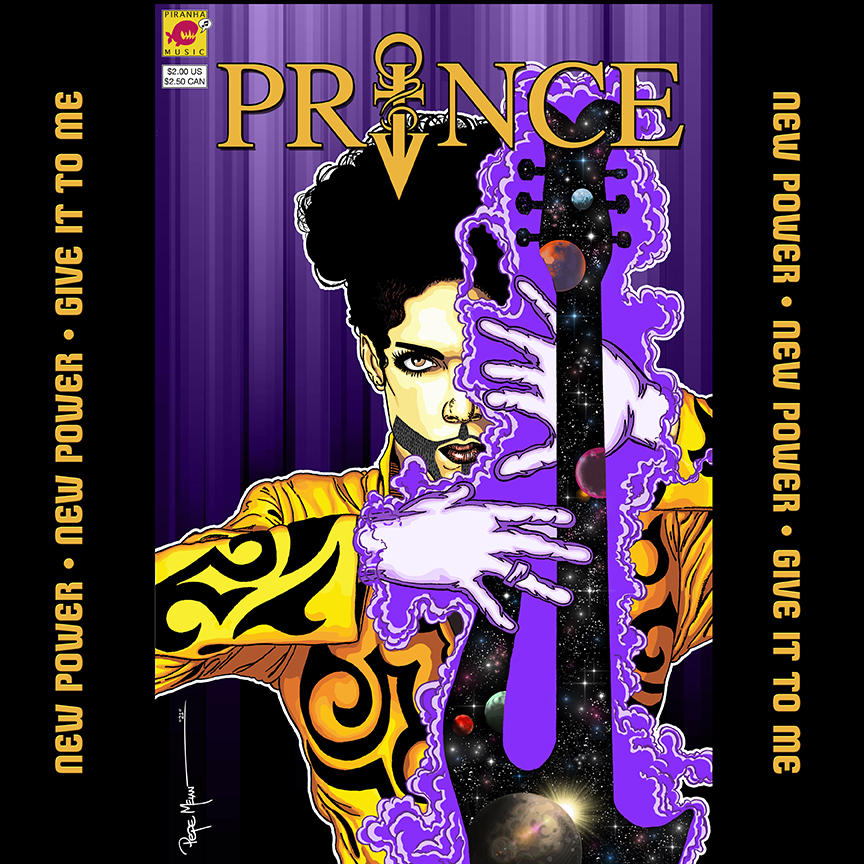
Remembering my life hero today. It doesn’t feel like he’s been gone for 6 years already. Here’s a little something I created in honor of him. Inspired by the Prince: Alter Ego Comic.
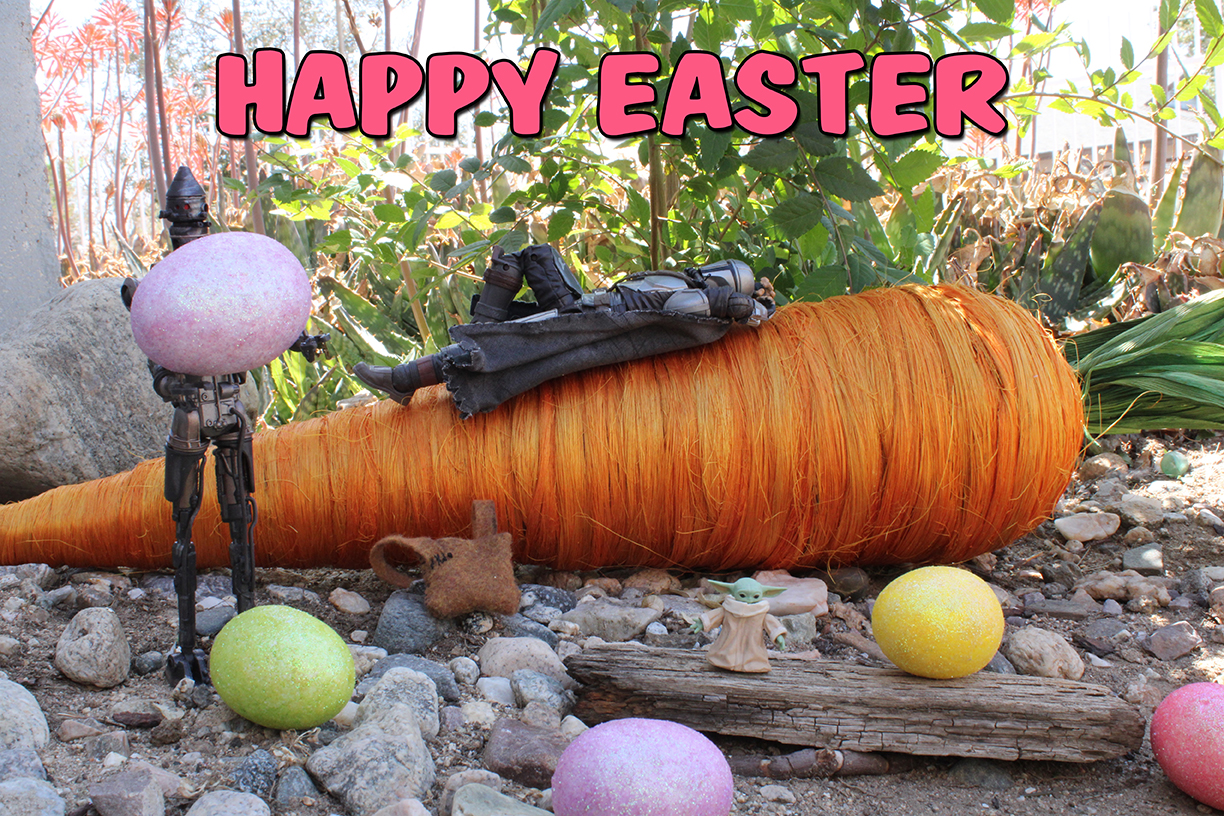
Here is a little insight into the process behind this Easter inspired Toy Photo.
I’ve been wanting to experiment with some toy photography and decided to be creative in a different way. I decided to take some shots using Mandalorian Start Wars Black Series figures to create this Easter inspired them photo. I didn’t want to travel so looked around the front yard for a place to shoot the photos. There is this nice little area in the front of my house with some rocks and planets that I thought would work great for the Easter scene. With that figured out, I moved on to moving some of the rocks around and put the props in place. Then I posed all the figures and placed them for the scene. I took several shot from different angles to make sure to capture the scene just right. Lastly, I brought the picture into Photoshop and added the Easter text. The photos were taken with a Canon EOS Rebel T7.
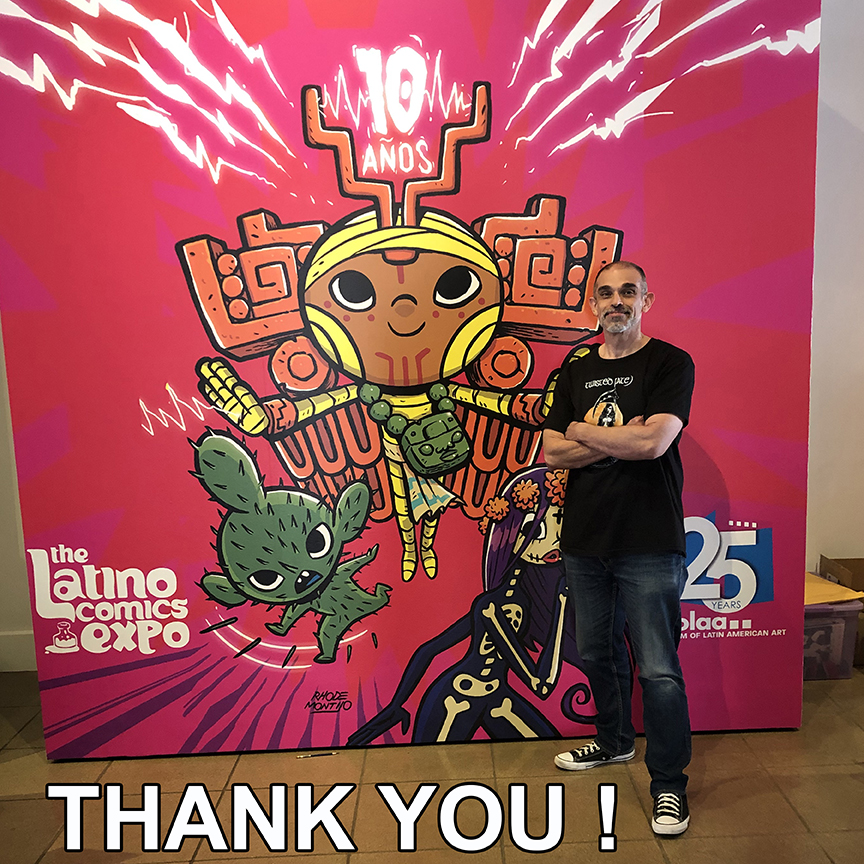
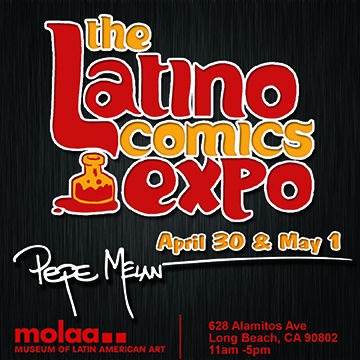
I will be exhibiting at the 10TH Annual Latino Comics Expo on Saturday, April 30 and Sunday, May 1 from 11am-5pm. The expo will be held at the Museum of Latin American Art, 628 Alamitos Ave, Long Beach, CA 90802. For more information check out the link https://molaa.org/events/2022/4/30/latino-comics-expo-onsite
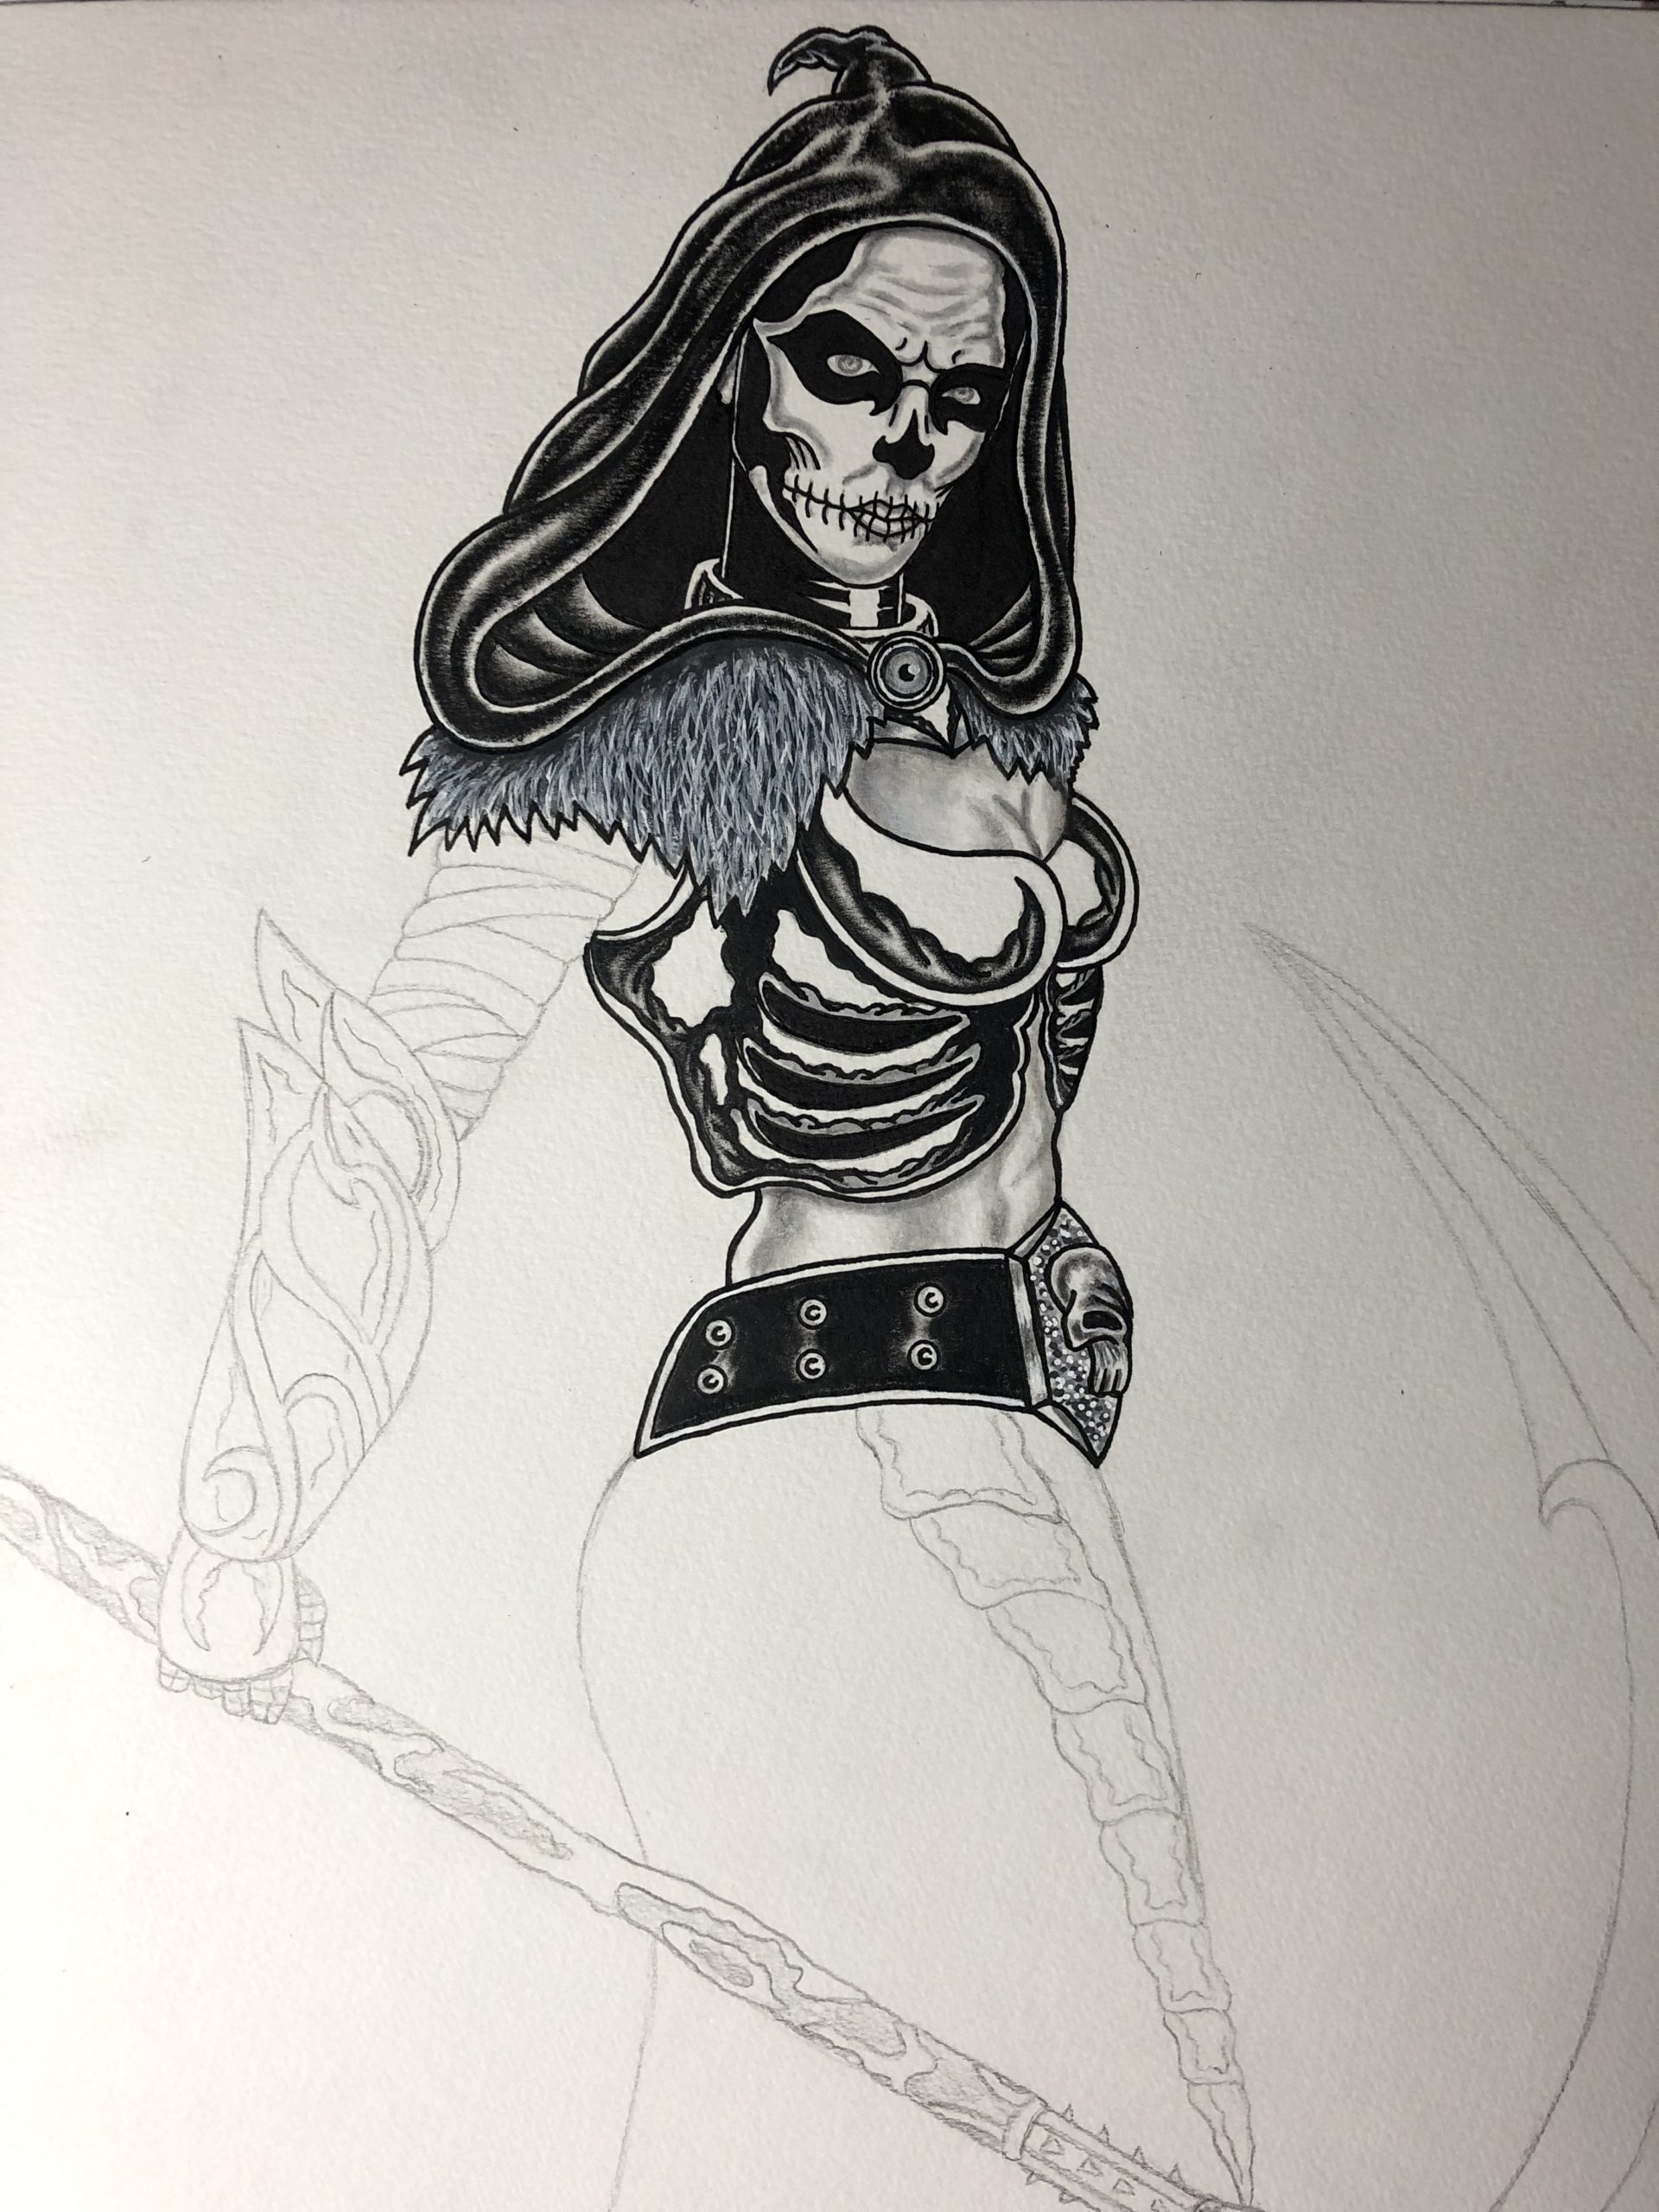
Made a little more ink wash progress on this new Nyx illustration that will be the cover artwork for my indie comic magazine Unique Realm Illustrated Issue #4 featuring the story of Twisted Fate.
For this this painting stage, I started by inking the chest armor with Faber-Castell PITT Pens. Then, I painted the top portion of the armor using dry brush technique and then moved on to doing the same with the bottom portion of the rib armor. Next, I painted the top chest skin area with diluted Liquitex black Soft Body acrylic. Next, I the rest of the body using the same technique. With those areas being finished, I moved on to painting the belt area. I started painting the skull area first, I built up the skull up slowly by slowly layering the washes. Next, I used Copic grays and POSCA white paint maker to fill the base area under the skull. Lastly, I painted black leather area using dry brush technique to achieve the leather feel.
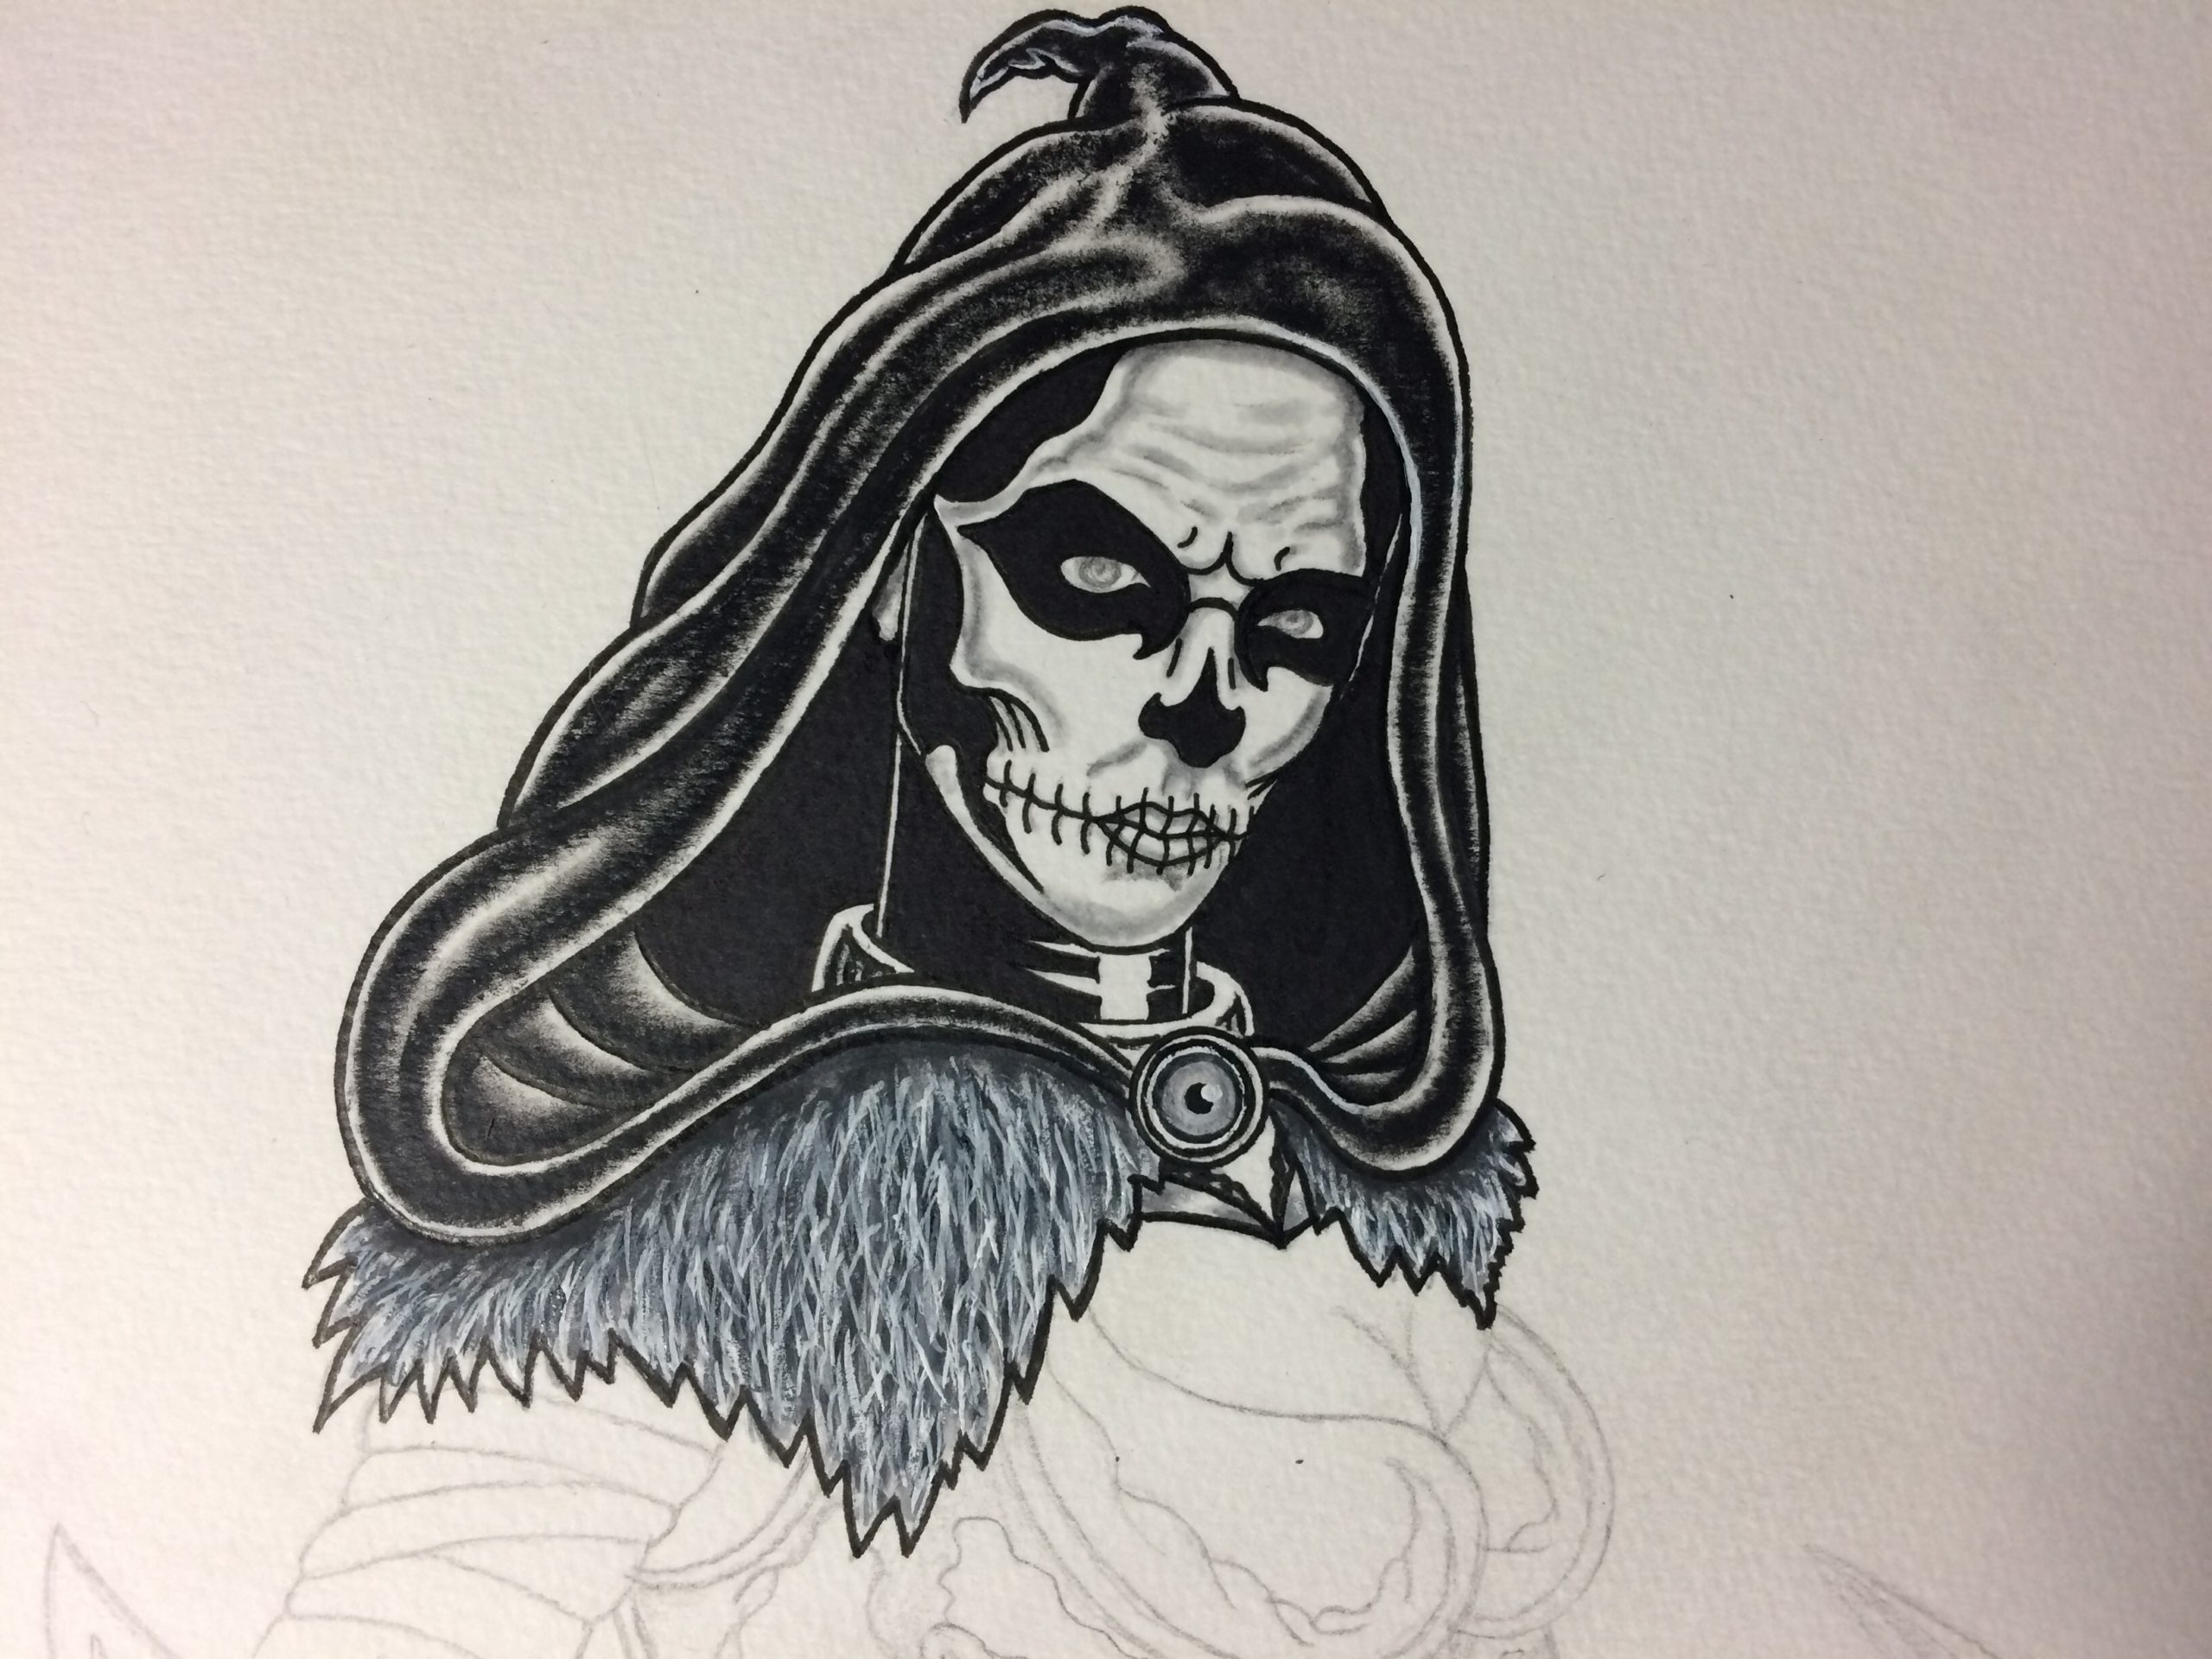
I’m excited to start the ink wash process on this new Nyx illustration that will be the cover artwork for my indie comic magazine Unique Realm Illustrated Issue #4 featuring the story of Twisted Fate.
In this progress shot, I stared by inking the face area first with Faber-Castell PITT pens. After that, I used Copic markers to fill in the black face area, neck area and the inside of the hood area. Next, I add the gray shadows with Copic Netural Grays. From there, I painted the hood area using dry brush technique. With the hood area finished, I painted fur area using a combination of Copic Netural Grays and Dr. Ph. Martin’s Bleed Proof White. Lastly, I painted neck area armor and the eye pendant using Copic markers and POSCA Paint markers.
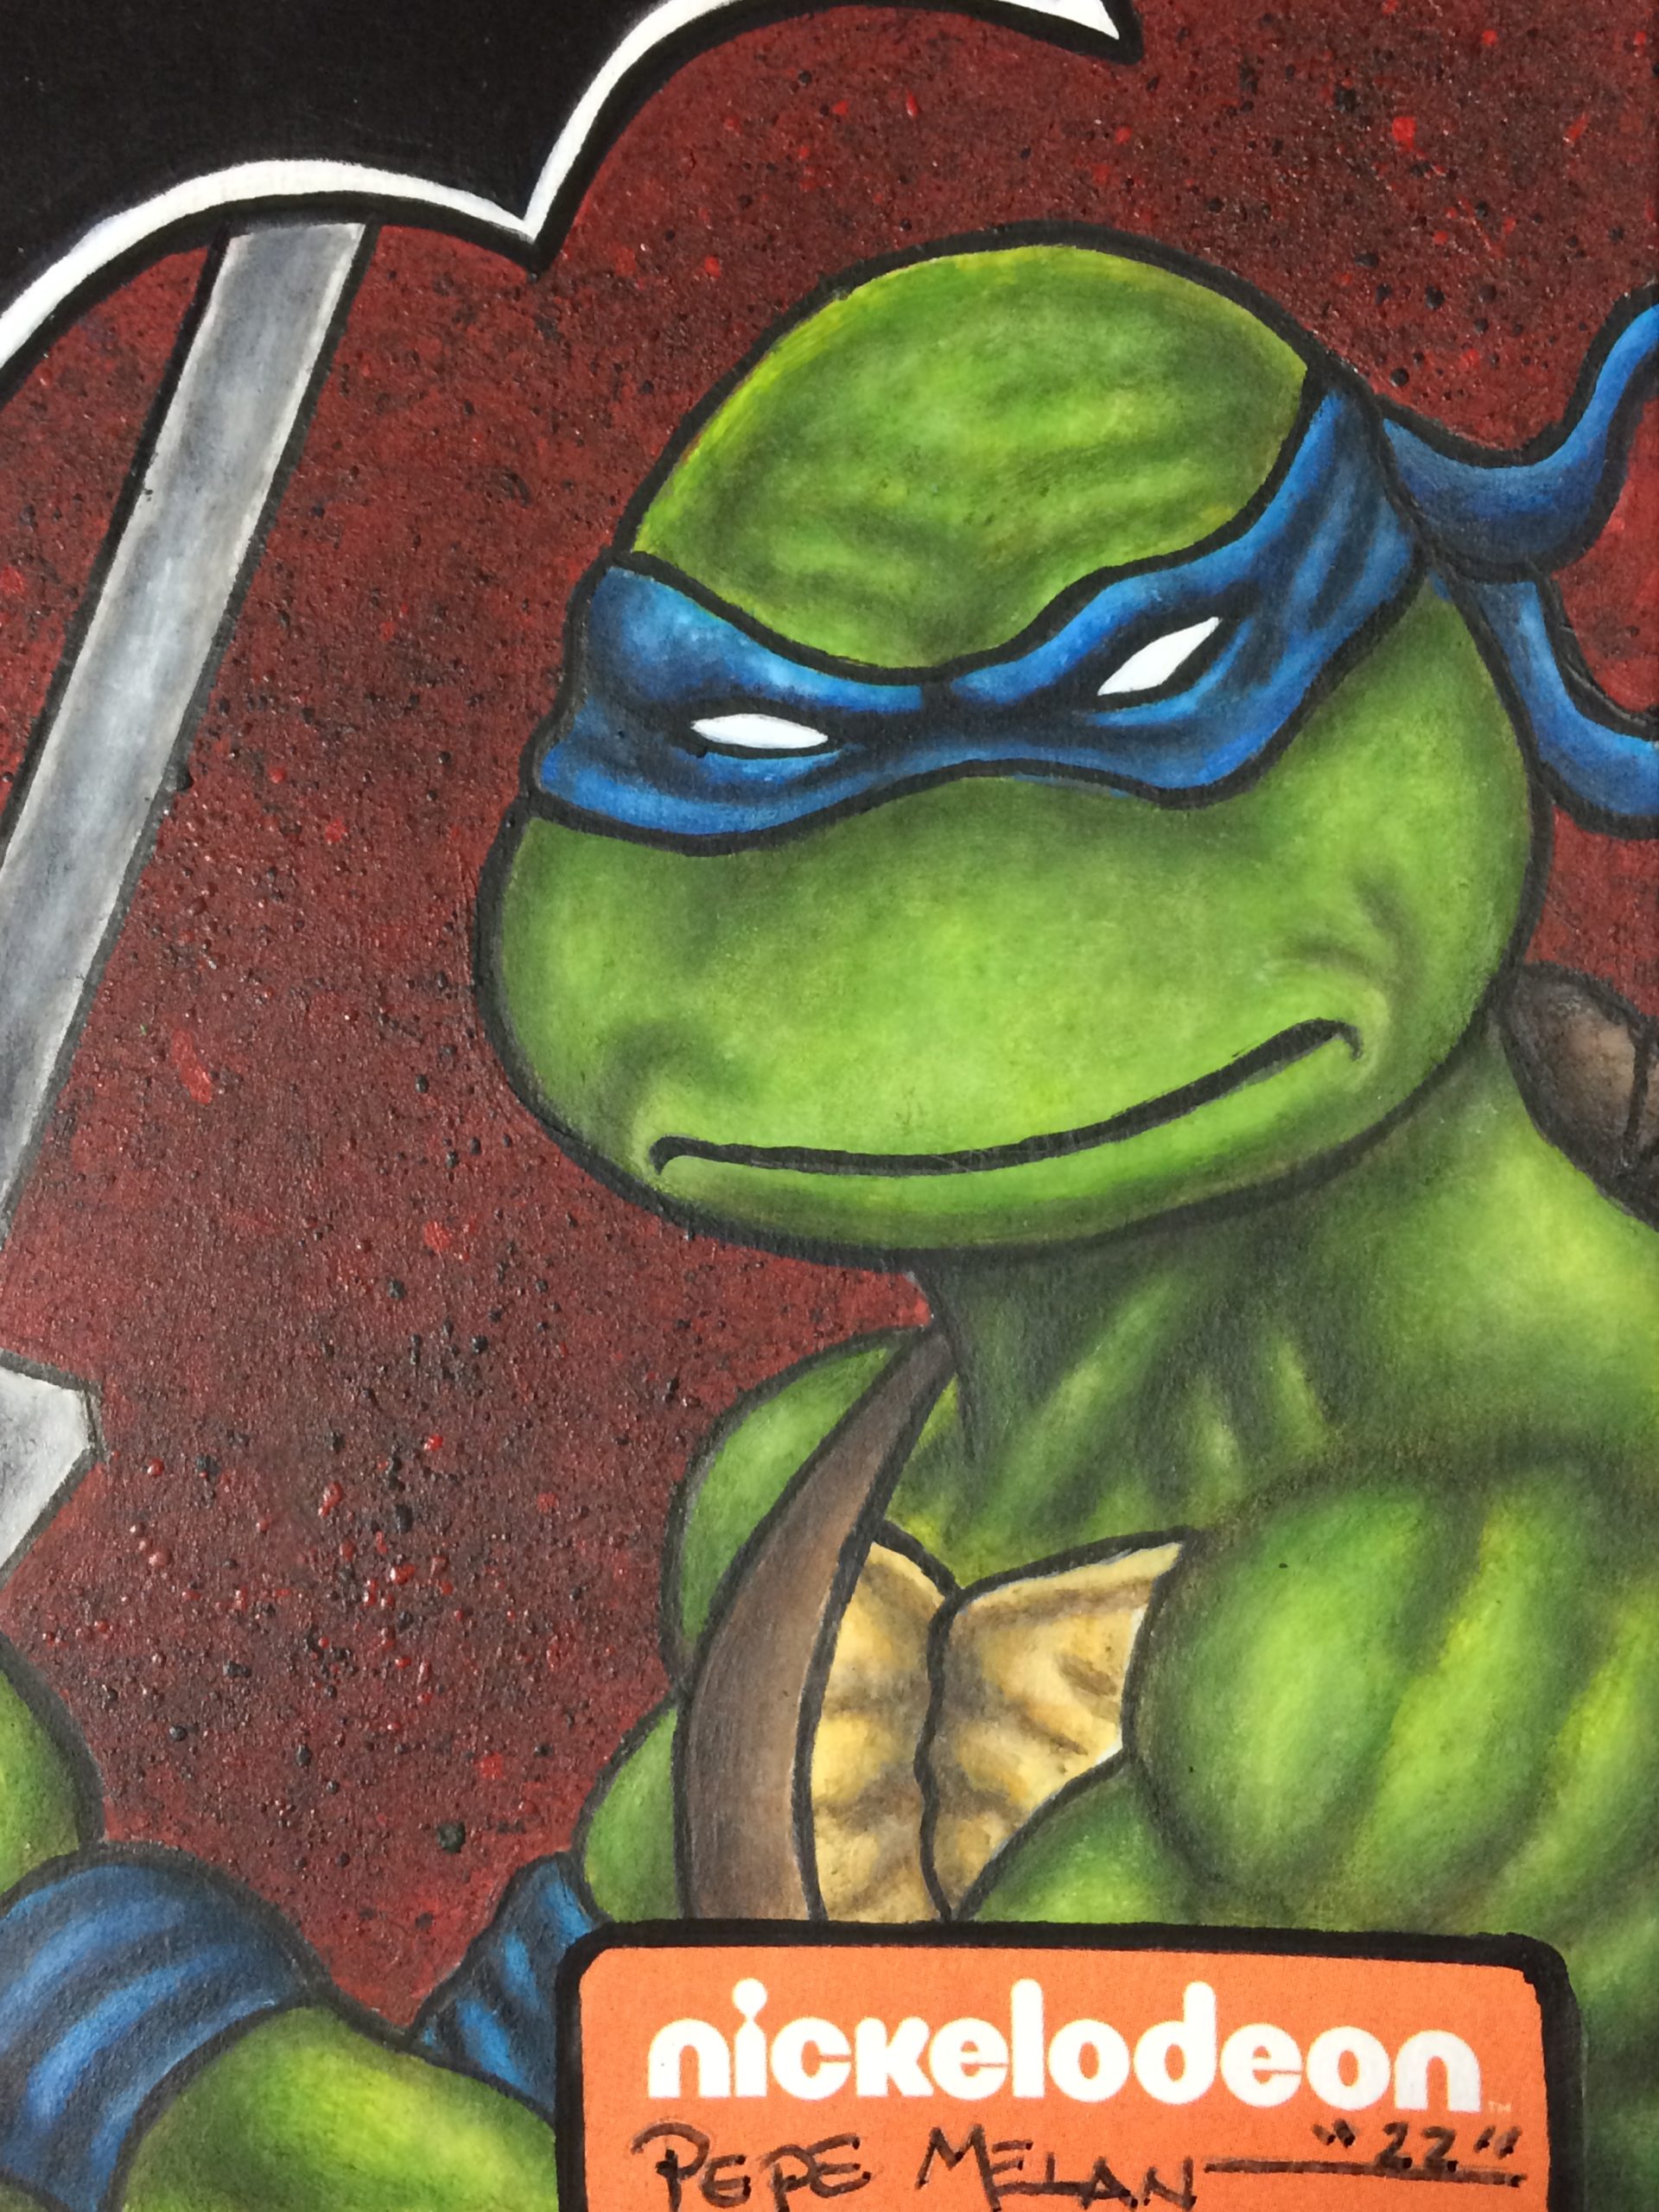
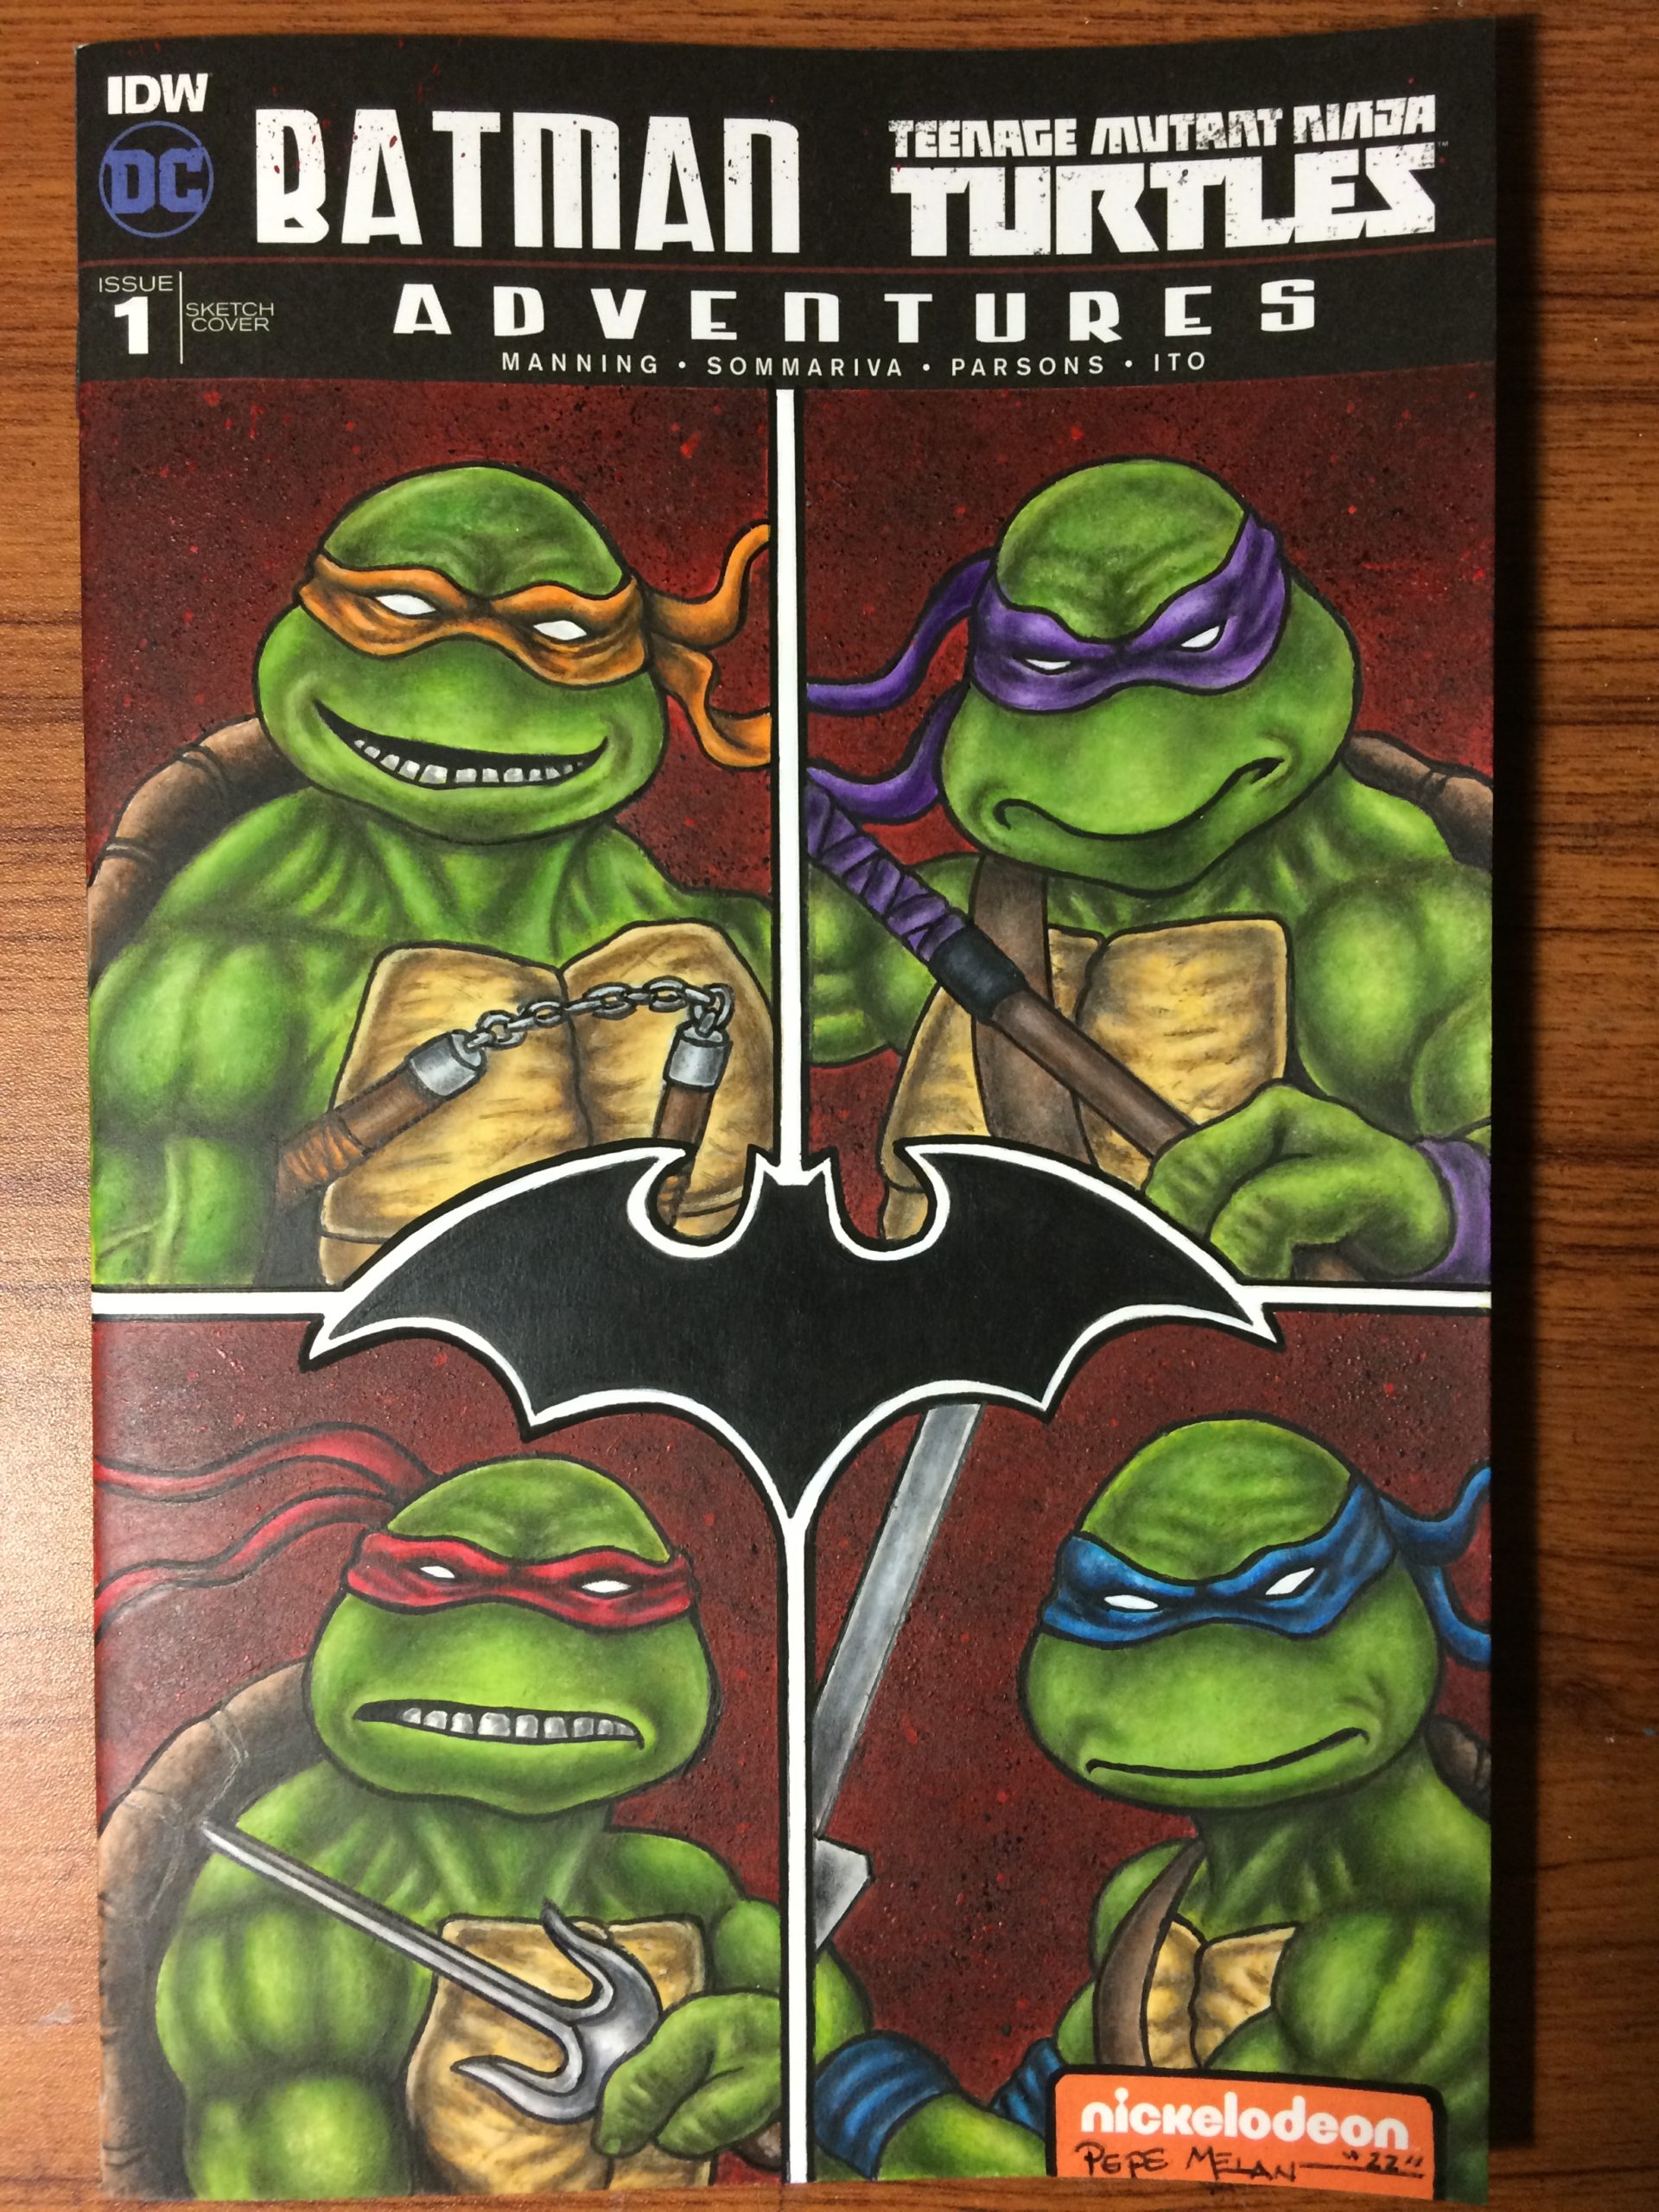
Four down and all finished up. Here’s a look at Leonardo finished up on this Batman/TMNT Sketch Cover commission. I started this stage by outlining all the different areas with Faber-Castell Art pens and POSCA Paint Markers. Then I painted all the green face area first, then painted the blue mask area. Next, I painted the body green areas and blue wristband. From there, I moved on to painting the back shell area and then painted the front chest area. Lastly, I painted the leather strap and the samurai sword.
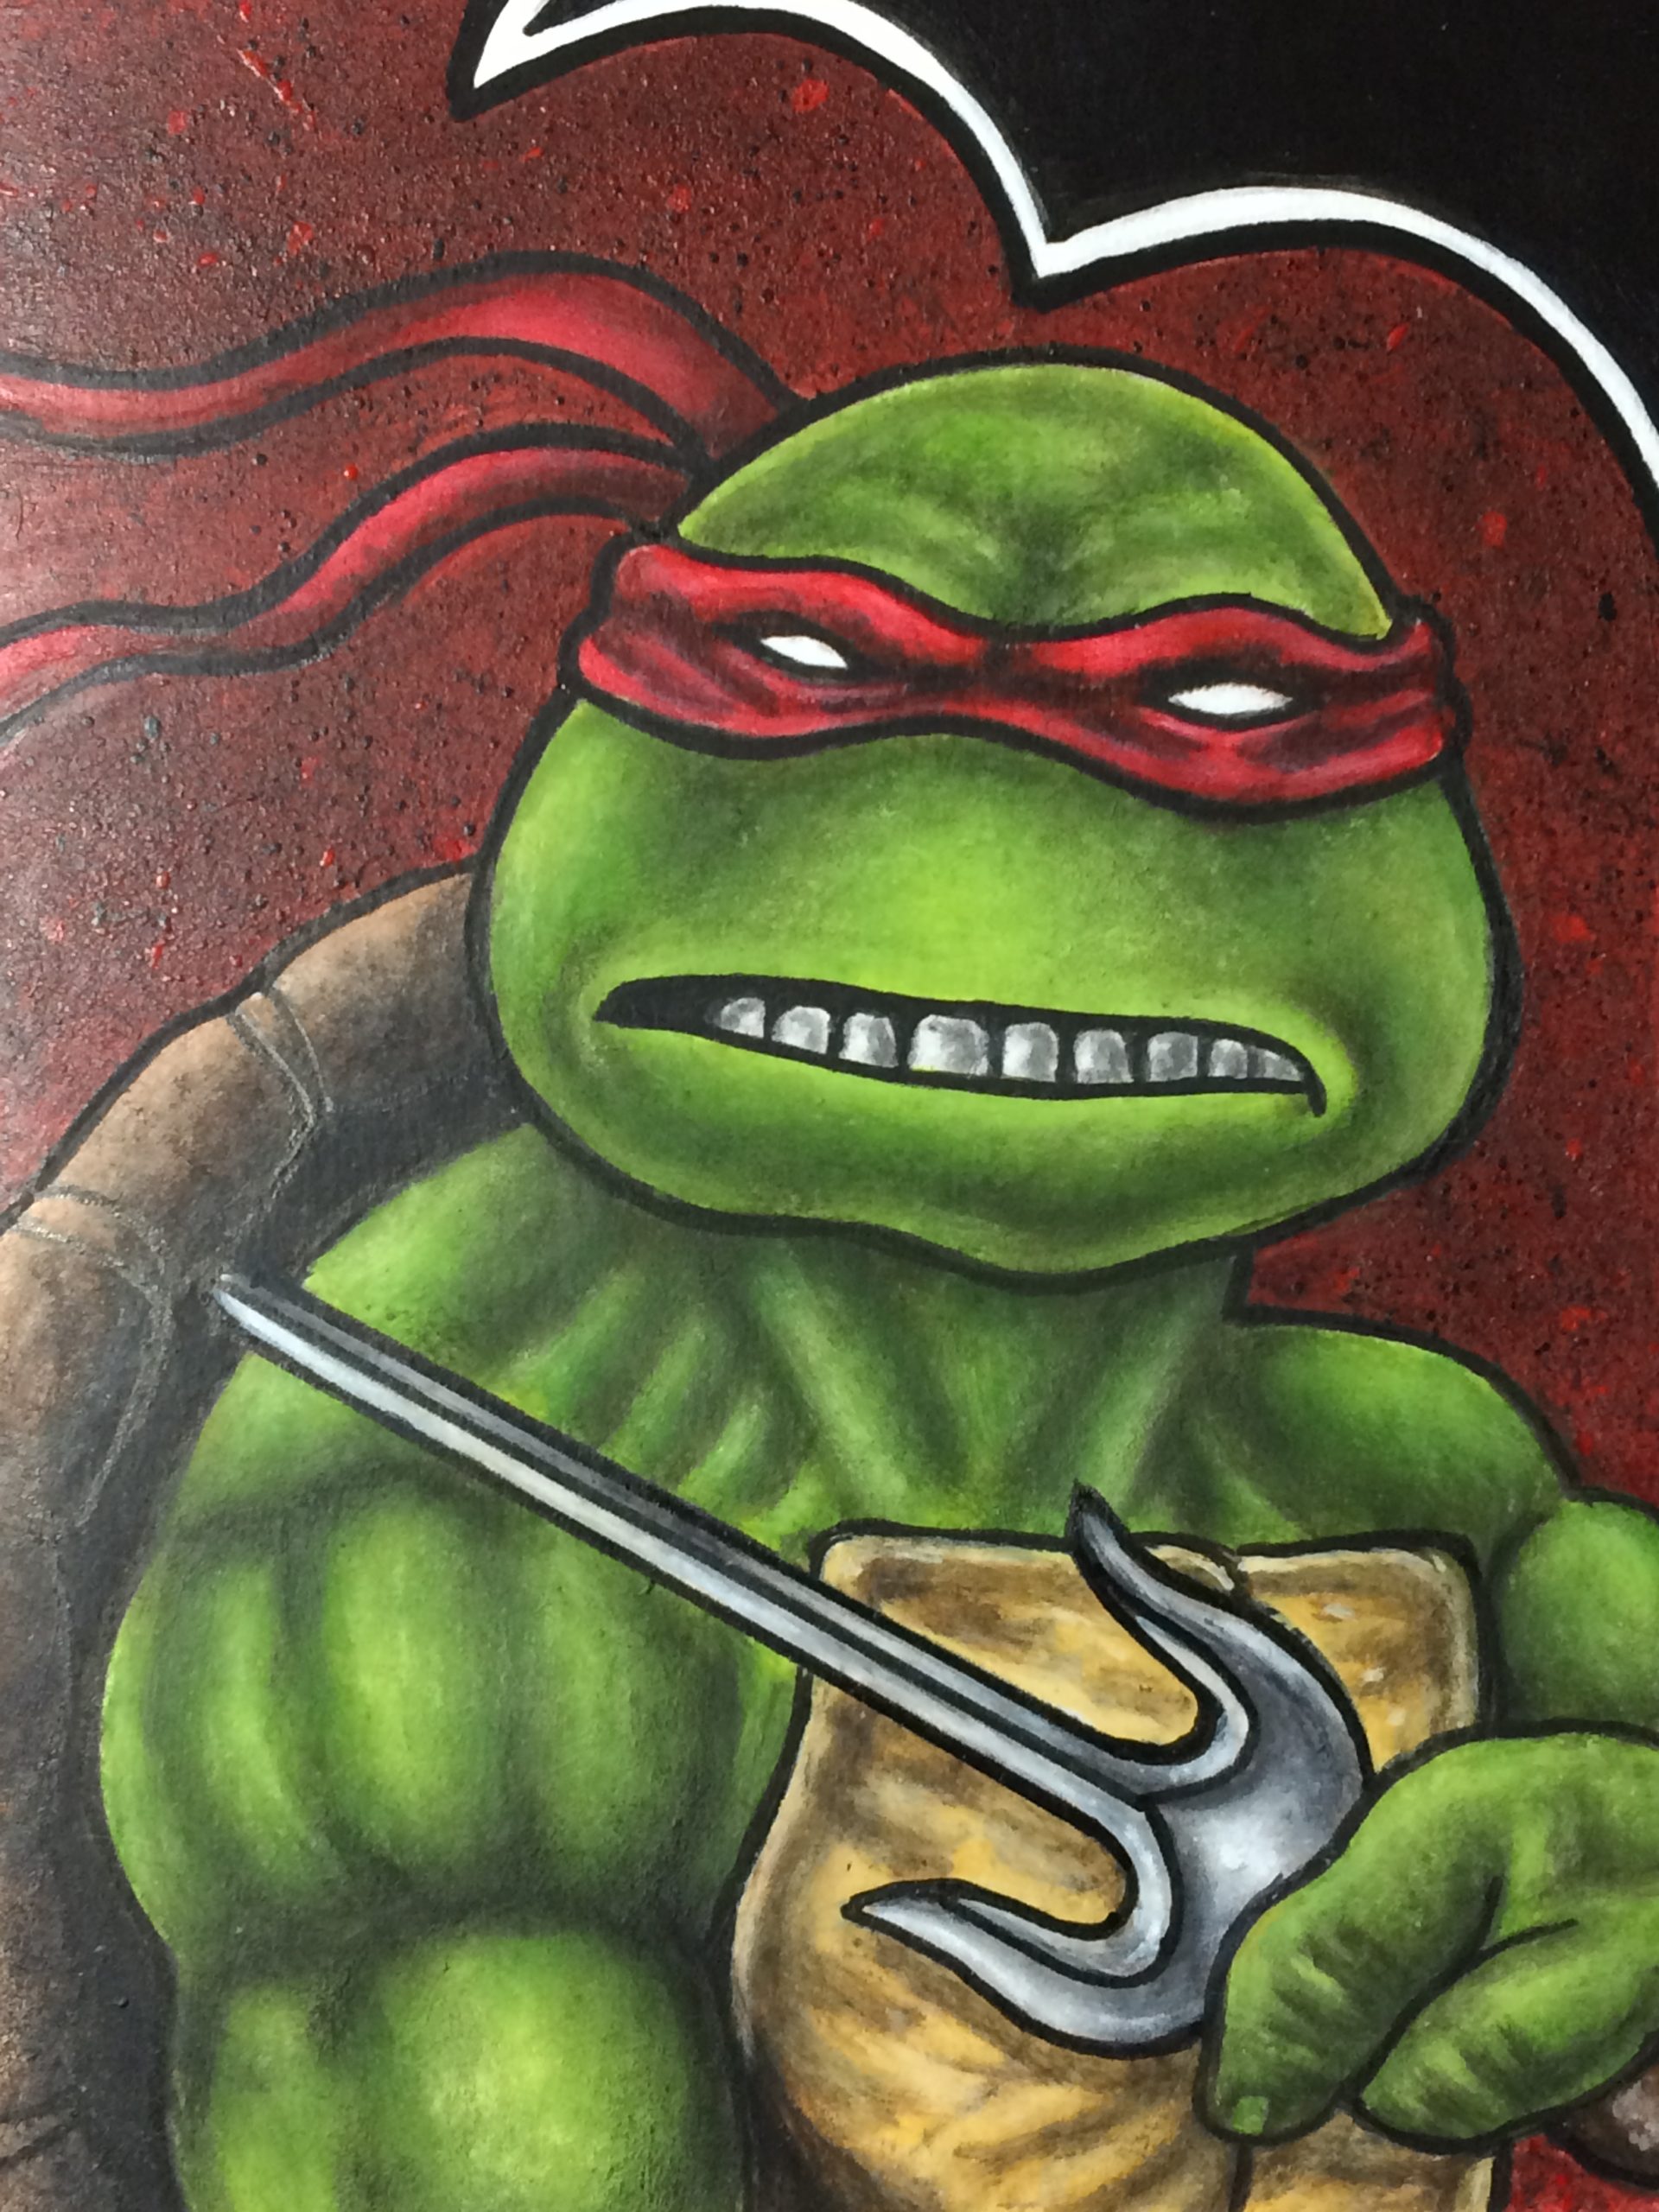
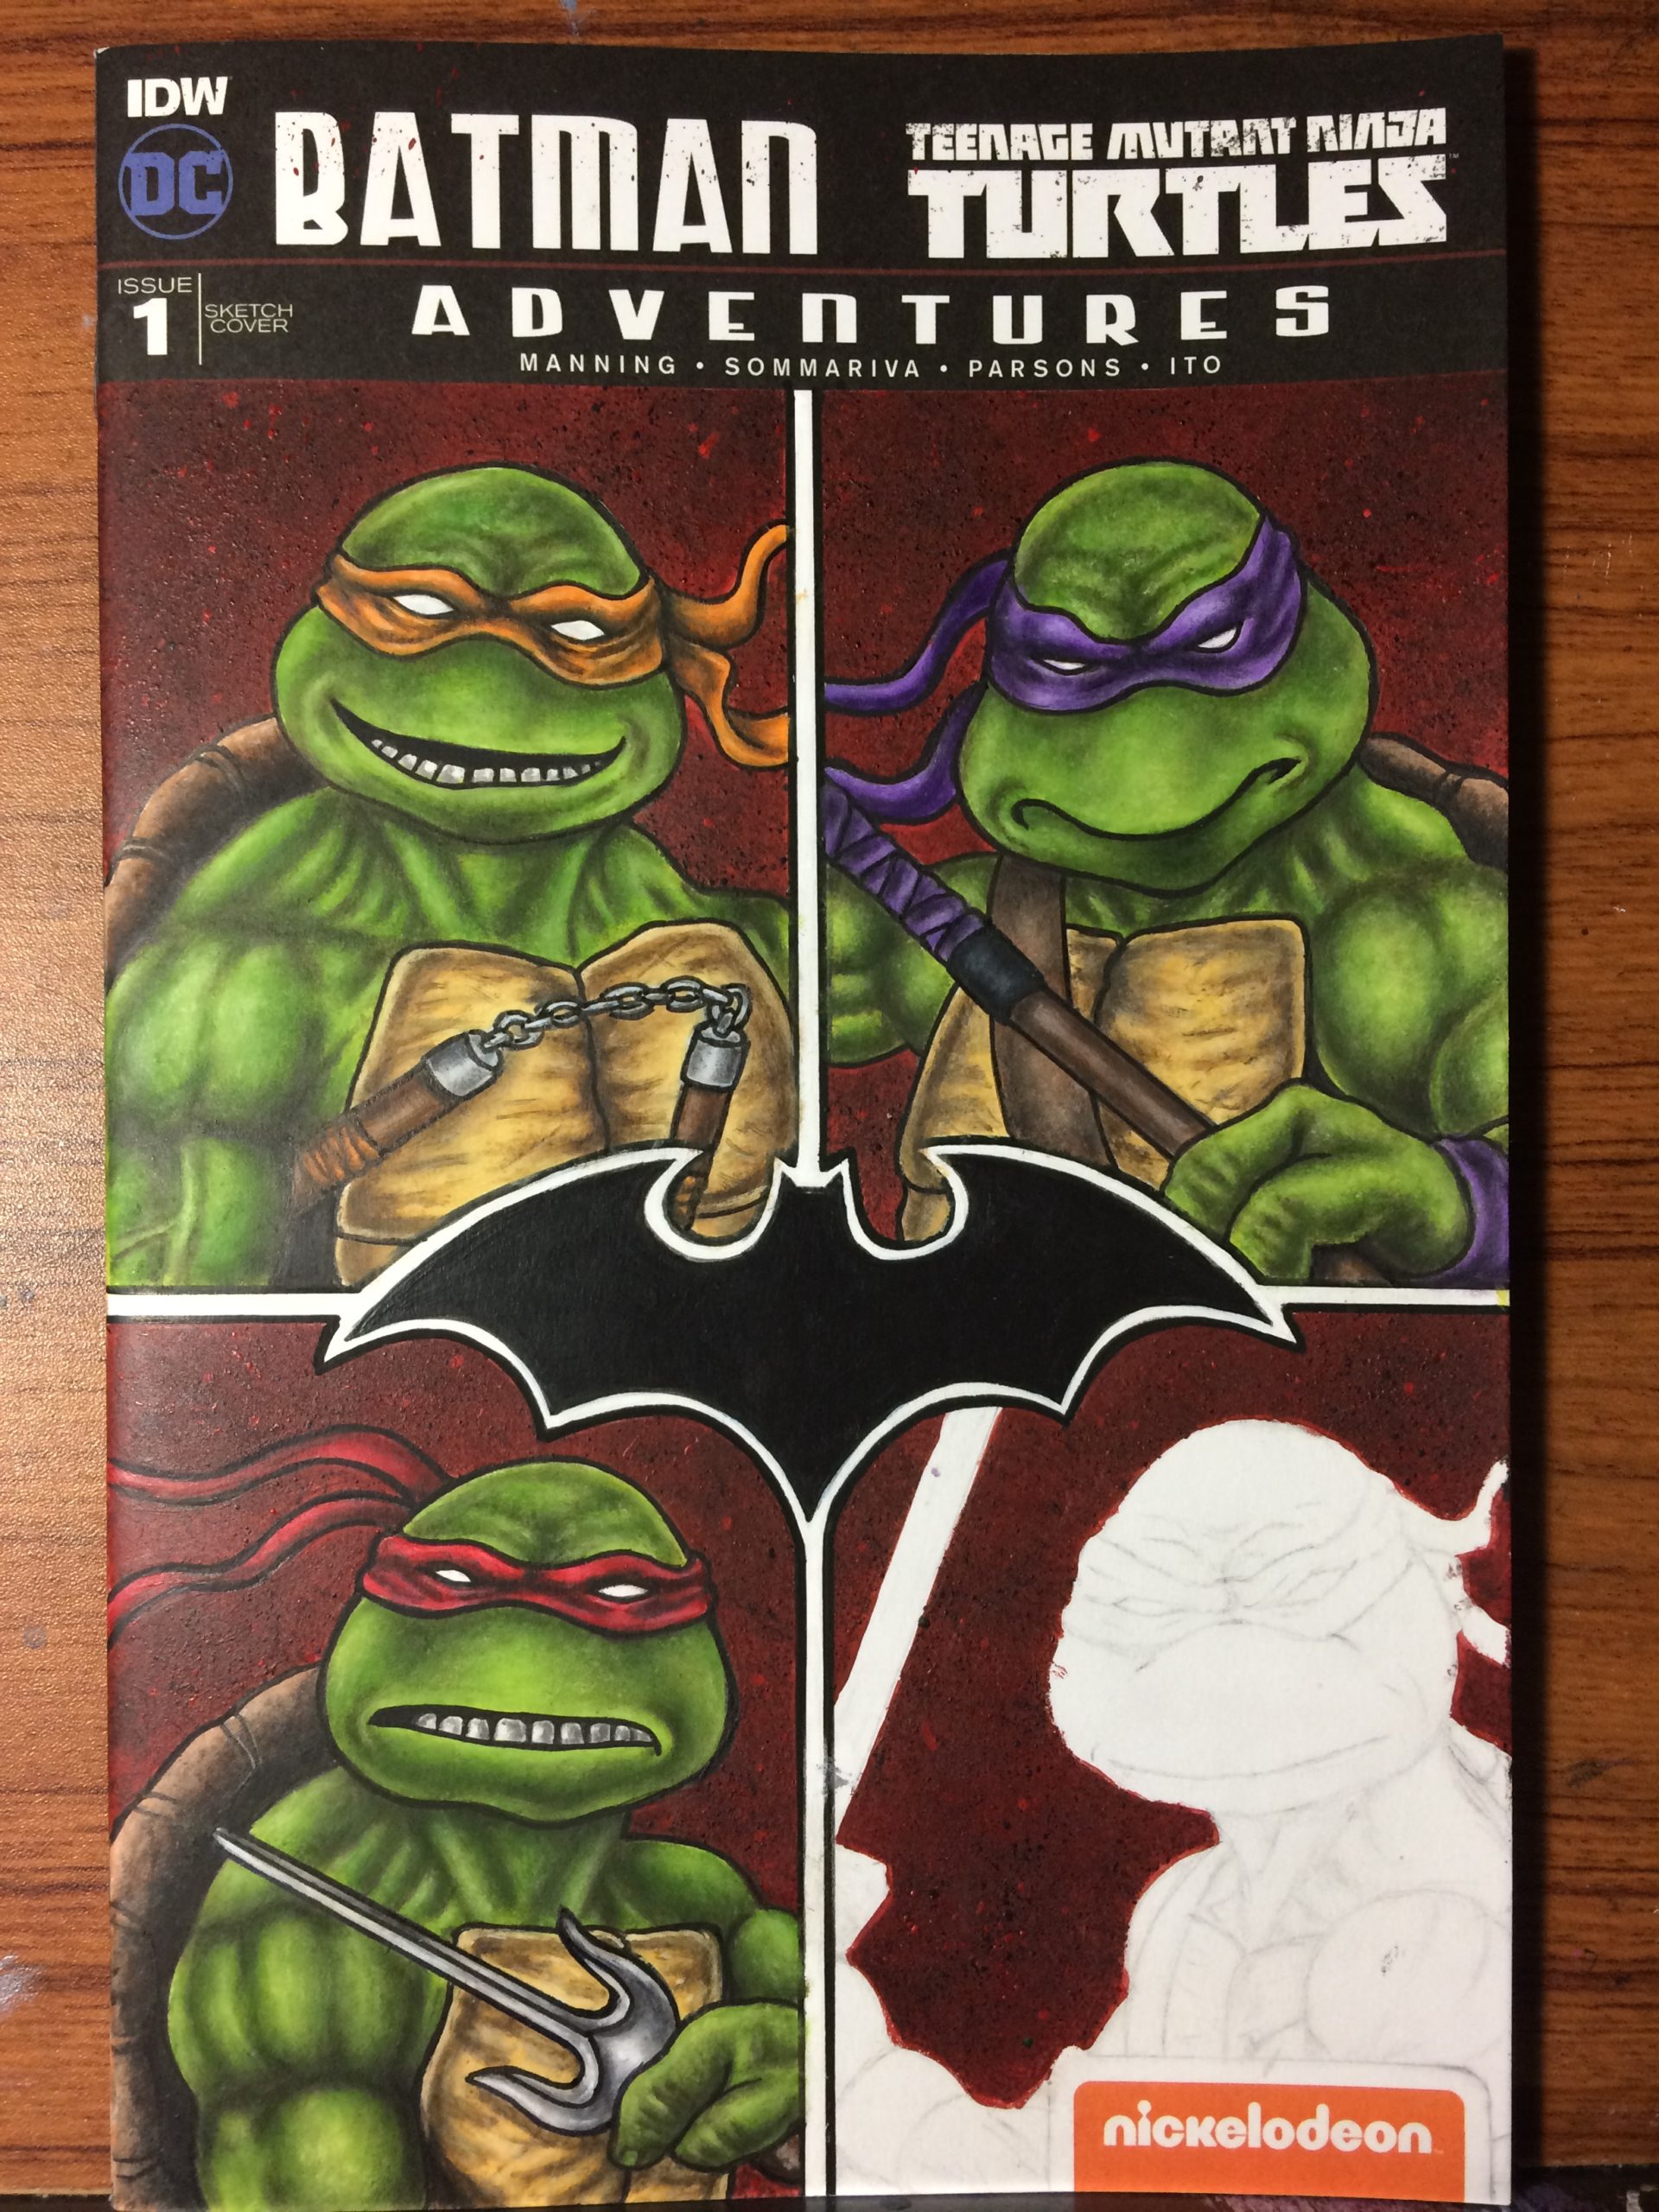
Three down and one more to go. Here’s a look at Raphael finished up on this Batman/TMNT Sketch Cover commission. I started this stage by outlining all the different areas with Faber-Castell Art pens and POSCA Paint Markers. Then I painted all the green face area first, then painted all the mask area. Next, I painted the body green areas. From there, I moved on to painting the back shell area and then painted the front chest area. Lastly, I painted the sai weapon.